It has come to our attention that the world is expensive right now. Just the mere act of surviving costs more than it ever has, and wages aren’t keeping pace with inflation. You’ve still got expenses, and it always seems that an emergency crops up at exactly the wrong time. So if you got a flat tire and don’t want to (or can’t afford to) pay a tire shop to fix it for you, here’s a simple guide to the process of doing it yourself.
Depending how old your car is, it is likely that it came with all of the tools you need to remove and replace your tire. Many modern cars, like the Buick Regal TourX depicted here, don’t have a spare tire or the necessary tools. I’m using a hydraulic jack, jack stands, a torque wrench, electric impact gun, electric inflator, and a tire patch kit. If you have the right tools in your car’s tool kit, you might be able to get away with just the tire patch kit. If you don’t have the right tools, it might not be a bad idea to buy them and keep them in the car.
Let’s get into it.
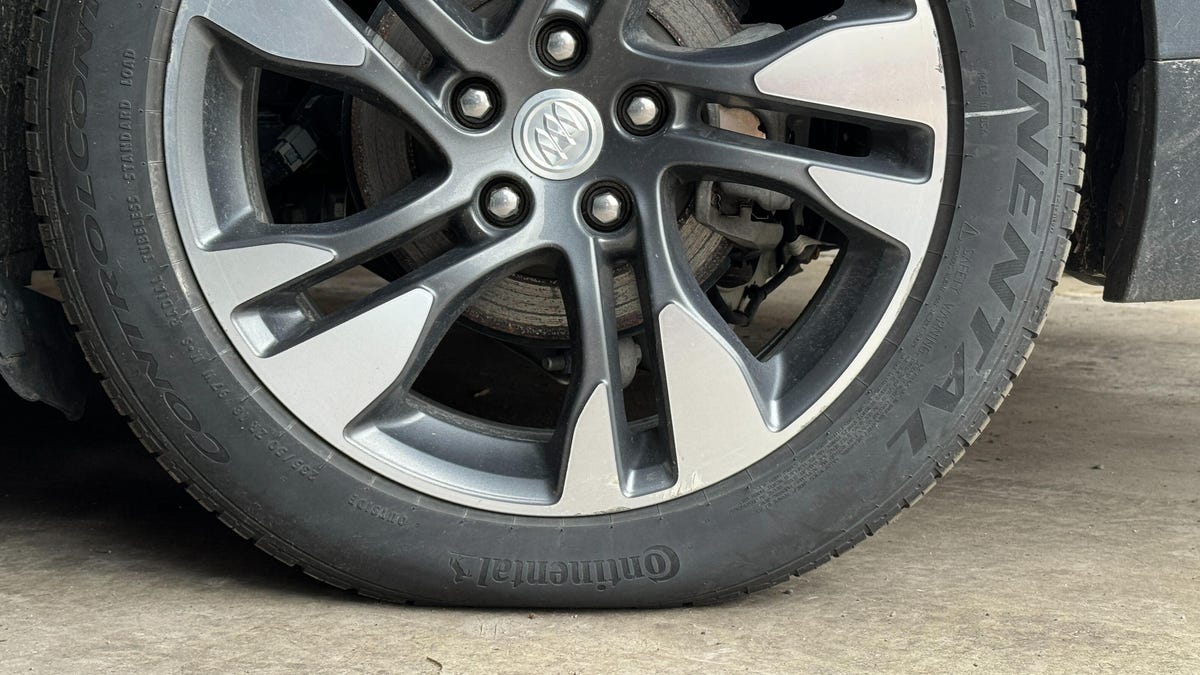
Flat tires come in many shapes and sizes. If you’re lucky, as I was, the puncture will occur in a way that will produce a slow leak and will allow you enough pressure to get home safely without the need to change your tire on the side of the road. Tires can only be patched if the puncture is in the tread of the tire, and if the tire’s sidewall has been punctured, you’ll need to replace it entirely, and shouldn’t drive on a tire with damaged sidewall. If the puncture doesn’t result in a further tear of the tire material, then a simple rope-style tire plug kit will usually do the trick.
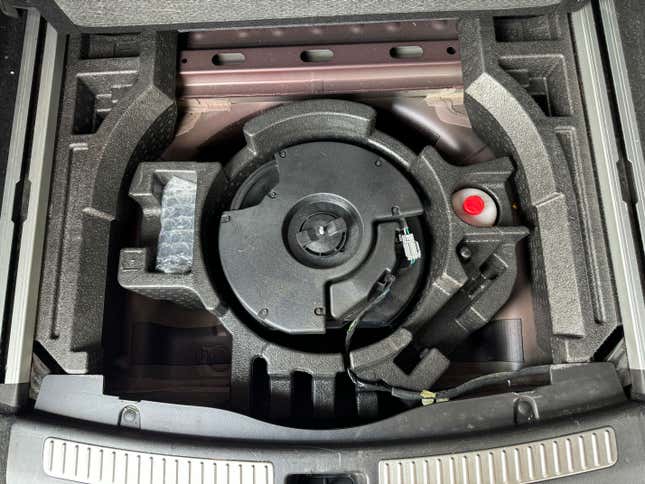
The first step is to check your trunk and assess what you’ve got in there. You should probably do this before you’re stuck on the side of the road with a flat. If you are prepared for a disaster, it’ll be much easier to solve. In my case, Buick didn’t put much in the back that will help me out here. There’s a subwoofer, which is nice, but no spare tire. Instead, they’ve included an electric inflation pump and a bottle of tire goo. This might be good enough to get a leak sealed up in order to get you to the next town, but I’ve personally never trusted this junk.
If you are stranded on the side of the road, and you have a spare tire in your trunk, you can simply take off the flat tire, replace it with the spare tire, and be on your way. Spare tires are typically rated for 55 miles of driving at 55 miles per hour, so this isn’t a long term solution, and shouldn’t be run at highway speeds. It’s meant to be just enough to get you to somewhere you can repair or replace the tire.
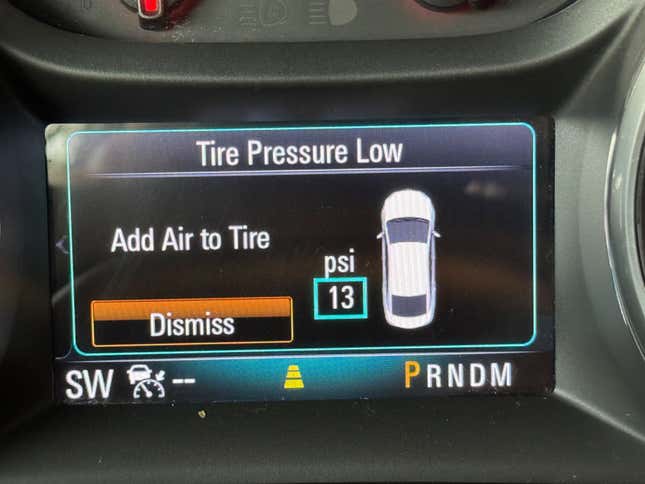
Thankfully, modern cars typically have integrated tire pressure monitoring systems, and the Buick gave me enough warning to get the car safely in the garage before the tire got too low, or caused any further damage.
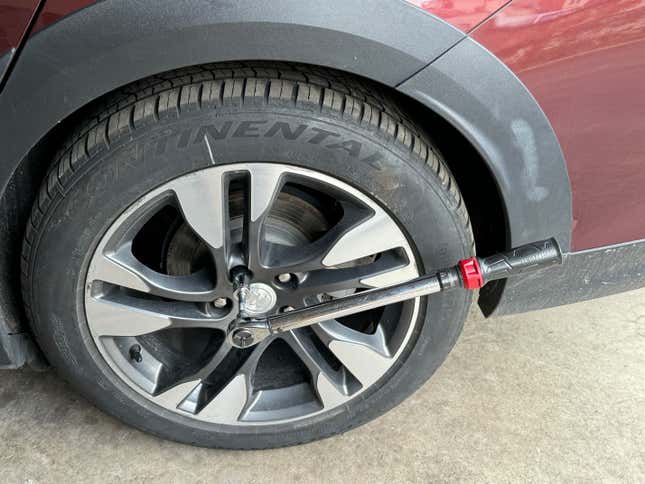
While the car is still on the ground, use the lug wrench to loosen the wheel nuts. You shouldn’t remove them all the way until the car is jacked up. You’re simply making it easier for the nuts to spin off when the car is raised. The weight of the car on the ground will keep the wheel from rotating and fighting against the wrench.
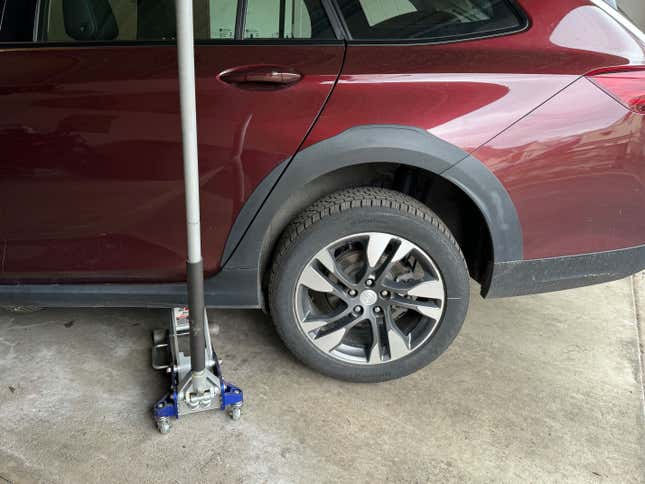
As the Mighty Car Mods folks down under say, “The first step is to jack up your car.” Don’t just throw a jack under the car all willy nilly. The car should be parked somewhere level and with a solid footing for the jack itself. Don’t try to use the shoulder of the interstate. Then you need to find a jack point strong enough to handle the weight of your car. Subframes, suspension pickup points, or dedicated jacking points are typically good places to look. Don’t use the pinch weld between your car’s rocker and floor pan, and definitely don’t use the floor pan itself.
More than likely you won’t have jack stands with you when you have a flat tire. It is okay to go without a jack stand while replacing a tire, just make sure you never put any part of your body under the car. If it were to fall off the jack, you could be seriously injured. If you’re doing this job at home, throw a jack stand under the car just to be safe. I like to put something extra under the car if I’m doing the work on the side of the road. Maybe you can find a spare log or a tractor trailer tire or something to help out in case of jack failure. It’s always better to be safe than sorry. The scissor jacks that manufacturers include in factory tool kits are sketchy at best, and downright deadly at worst.
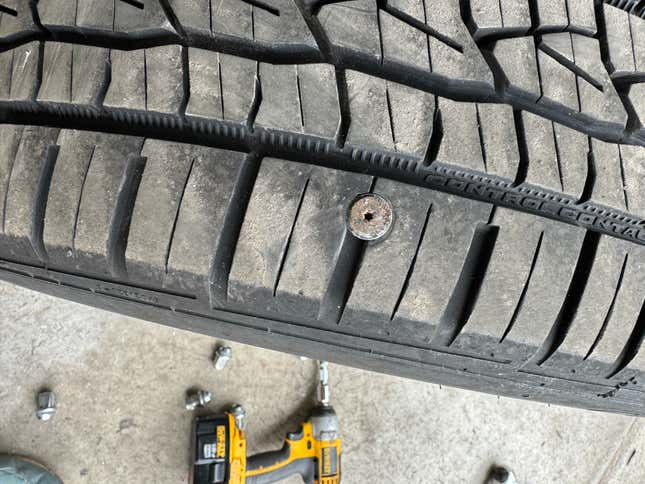
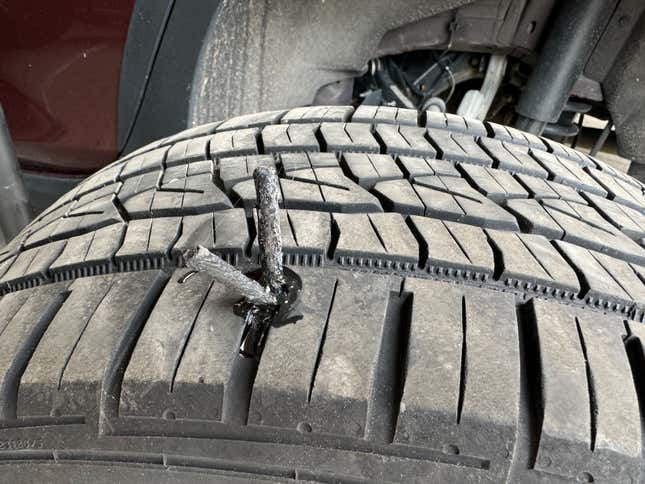
Once you get the wheel off the car, you can look for the thing causing the leak. In this case it was quite easy to see without too much hunting. If the intruder has embedded itself into the rubber, you may not see it at first. Sometimes you can hear the air leaking out of the tire to help you find the leak. If that doesn’t work, mix up some soap and water and spray it all over the tire. The leaking air will cause bubbles to form, giving you an easier time of finding it. This isn’t the easiest way to do it, but one time I jumped in a swimming pool with my leaking tire to see where the bubbles were coming out. It was a hot day, you see.
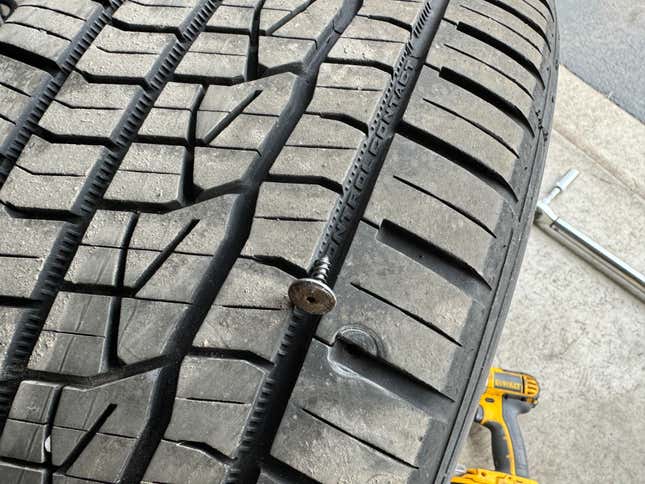
I’ve run over all kinds of junk in my years of driving. I’ve caught forks, nails, screws, and even a Craftsman wrench once. In this case, it was a torx-headed screw that looked an awful lot like the one I’d removed and then lost from the rear bumper of my Porsche Cayenne. Dammit. I removed the thing by twisting it out with a torx bit screwdriver, though I probably could have removed it with pliers, too.
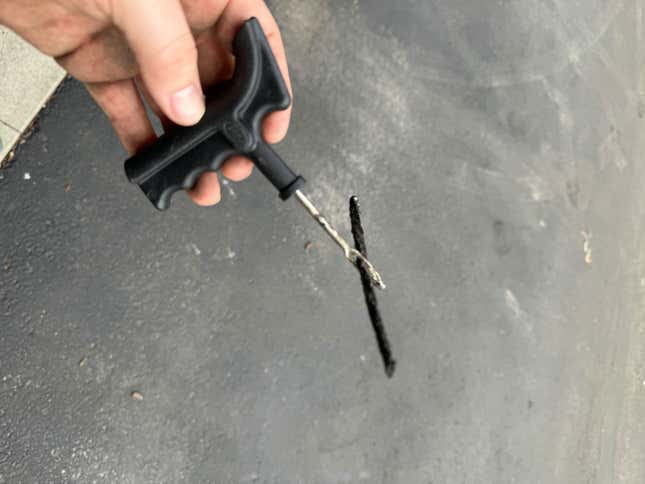
A cheap ten-dollar tire plug kit will include a reaming tool, rubberized tire rope plugs, a little tube of rubber cement, and the plug installation tool. Once the screw is removed from the tire, you can use the reaming tool to make the hole uniform and easy to bond to. Run the reamer in and out of the hole a good twenty times or so.
Take one of the rubberized rope plugs out of the packaging and feed it into the plug installation tool. You want an equal length of plug on either side of the tool, so it’s in the middle.
Then you can slather both sides of the rope plug with rubber cement.
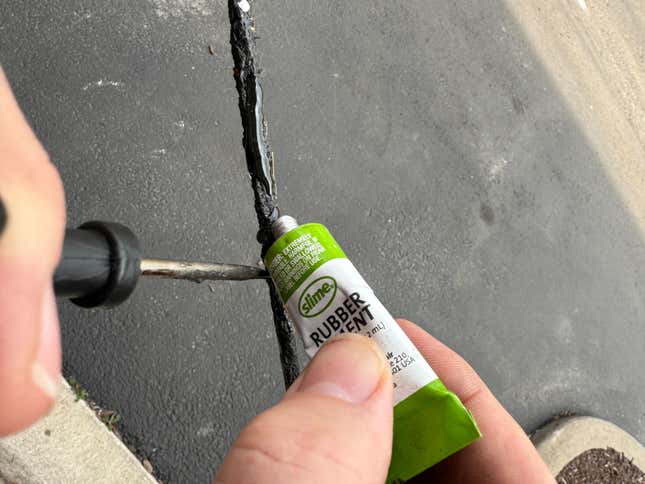
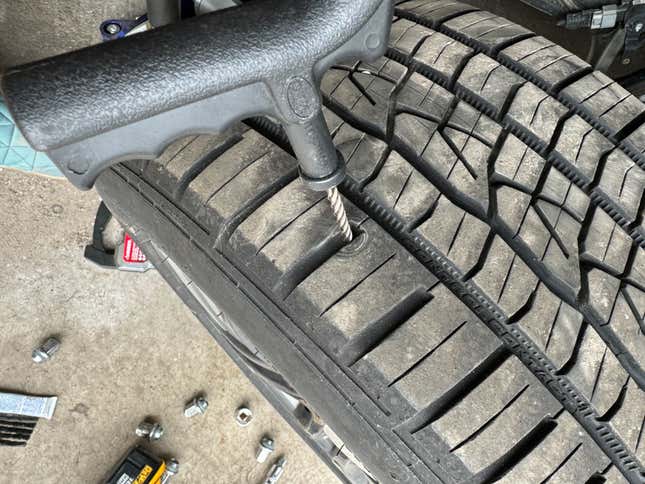
And then you can ram the whole thing down into the hole. If you’re so inclined, you can make a sex-related joke to yourself in the process. Whichever one suits your style, I’m not here to judge.
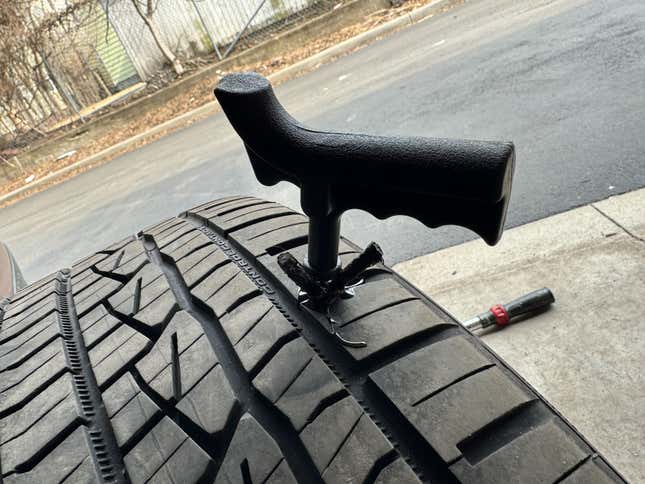
Now you’ve got two lengths of forbidden black licorice sticking out of your tire. Once the rubber cement has had a chance to set, you can clip both of those off pretty close to the tire. Maybe leave an eighth of an inch sticking out, it’ll wear down to flush within a few dozen miles of driving. If you leave them long, there’s a chance they’ll pull out of the tire and leave you in the same predicament you were in when this whole mess started.
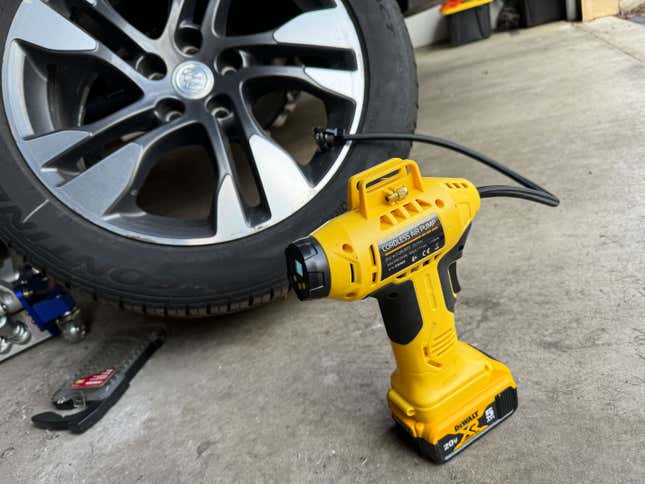
Now you can test your work by filling up the tire again. Check the bar code sticker on the inside of your driver door for the inflation PSI recommendation. If you don’t have an air compressor or an electric inflator like mine, get as much air into the tire with a bike pump as you can and drive slowly to a gas station with an inflation machine. If you have a second car, you can bring the whole wheel to the gas station before installing.
Pop that wheel back on and do up the lugs. If you have a four-lug wheel, you want to use a criss-cross pattern to tighten your lugs to make sure the wheel seats against the hub properly. If you have a five-lug wheel, use a star pattern. After you’ve driven a handful of miles, you want to re-check the lugs and snug them up a second time, just in case.
Because I’ve done this many times before, this whole process took me about 15 minutes to do from driving into the garage to driving back out again, but it took me 1,600 words to describe. If you keep running over shit in the road like I always seem to, this will eventually be second nature to you, too!